Roadmap
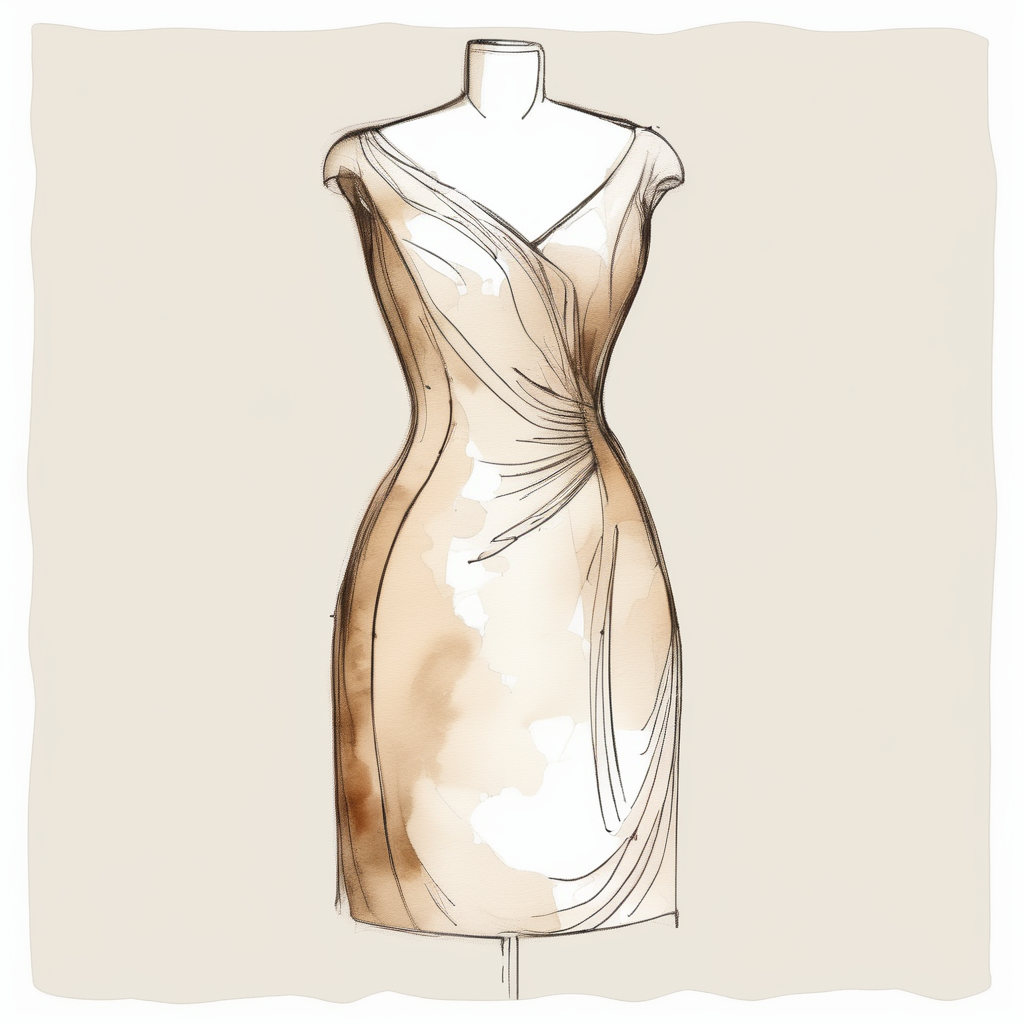
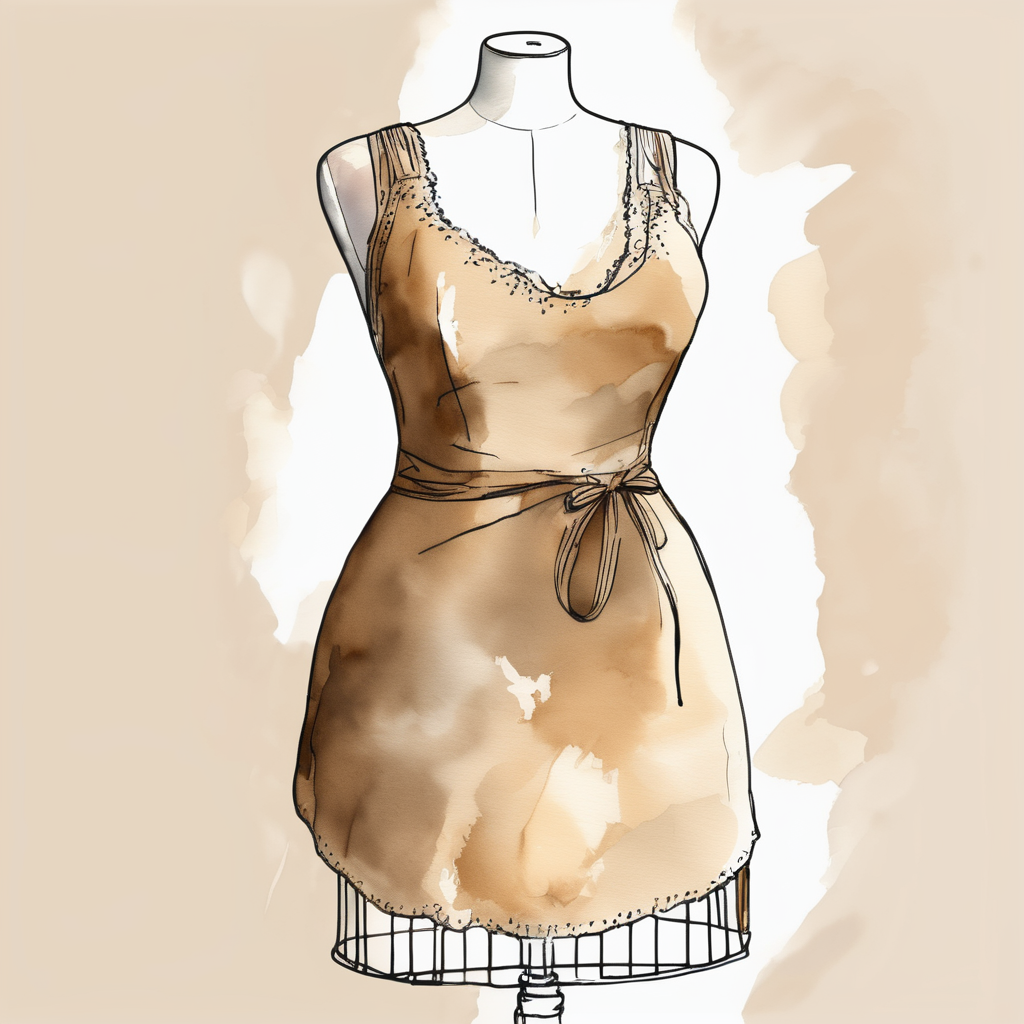
Finally my own custom dress form!

I was so disappointed that I couldn’t get my self-sewn clothes to properly fit.
After a number of attempts to buy, make or even find a good dress form, it kept nagging.
And with all the technical 3D developments of today, I thought: “There must be something possible, right?”
Things are certainly possible, but it takes time, energy and money. This was not fixed in a day, “but then you have something”😃.

About this website
This is a step-by-step plan
So I started looking for a solution that would be reasonably affordable and feasible for me. I “just” wanted, just like everyone who makes clothes: a replica of myself. And on this website I would like to share with you, how I went about that.
This is not an online shop or service where you can buy a custom dress form. This is a roadmap, explanation, step-by-step plan, work instructions, tutorial, process description, etc. about how you can go and organize your own custom dress form.
I have broken down my action plan, into the different phases and explain how you can prepare and organize each phase.
Again, it is not made quickly. It takes time, money, attention, energy and research. But for the latter, I have created this website!
Good luck & have fun with the results!
Steps
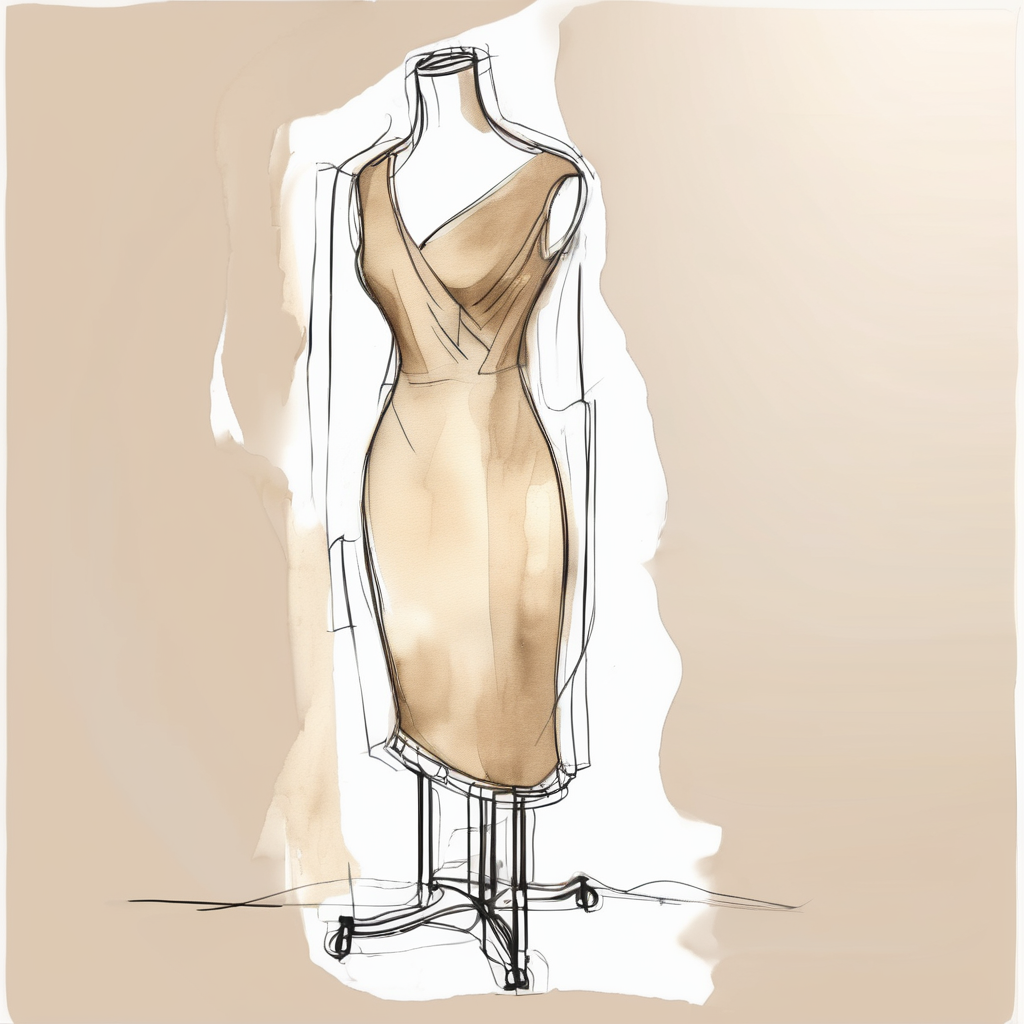
Organize your own replica dress form
On this website you will find a roadmap, step-by-step plan, instructions, tutorial, etc., whatever you want to call it, to create a “replica of yourself”.

3D scan
You need a 3D STL file to send to the maker of the foam torso.

1:1 Styrofoam torso
There are companies that can CNC foam carve/cut organic shapes. So why not my own dress form?

Construction & finishing
The styrofoam still needs a cover and finishing. And the dress form must also be on a stand. And… above all, stand up straight.

Costs
Each phase entails costs. You can list the various costs, so you can decide if it’s right for you.
How does it work?
In short…
Making and organizing the dress form itself has 3 phases. It is also useful to keep track of costs.
01
3D scan for STL file
STL stands for STereoLithography. It is also called Surface Tessellation Language or Standard Triangle Language. That is the name for the technical drawing that is created when you make a recording with a 3D scanner. You need someone to do the scan for you, because it has to be accurately recorded. You cannot do this yourself.
There are companies that make pregnancy figurines, wedding cake toppers or other personalized sculptures or statues, for example.
In addition, there are also local 3D workshops for technical hobbyists. Some people are even very handy with their own mobile phone or tablet with a special app. There are many places where you can have the 3D scan made and edited. Be sure to ask around first. I have created a template email so that you can ask the right questions to inquire.
02
1:1 Styrofoam torso
You’ve probably seen it before. At a fair, at a concert, or in a store: enlarged figures, letters or objects made of styrofoam. They are often colored or painted. But the companies that can make something like that, can also make your torso. For this they need a good 3D STL file, as mentioned above. They use this file to contour cut, foam carve and/or CNC mill in EPS (Expanded PolyStyrene, also known as Styrofoam or tempex).
03
Construction & finishing
In order for the torso to function properly as a dress form, it must be placed on a stand. A cover is recommended for the dress form, so that it is not damaged too much by frequent pin pricks. Fabric protects the styrofoam. The tubes/pipes of the stand must also fit together well, so they do not wobble.
04
Costs
Research and gathering information does not cost money, just time and energy. When you have gathered all the knowledge and data, you can make an informed decision about whether it is worth your money.
Other possibilities
I’m not a fan of these options myself or they weren’t available where I live…
…but I would still like to mention them, because it gives some perspective as to why I ultimately opted for my own solution.
Padding on existing (adjustable) dress form
No matter how many layers you apply, the proportions are wrong. The dress form also remains too soft to properly pin and drape the fabric.
tape dress form
This method smooshes all curves and rolls. And the thick layer of fabric and (duct tape or plaster) also causes incorrect sizes and fit.
Bootstrap Fashion & komudesigns
Even with the additional adjustments of the ‘Is that me that I see?’ PDF guide from komudesigns, I still couldn’t get the proportions of this dress form right.
Dittoform, Beatriceforms & Mimiquins
These companies gave me the idea of the 3D scan and foam carving. The first 2 are a full service company and only available in the USA and Canada. Mimiquins works with cardboard from the UK.
Removable padded dress form cover
A custom-made “jacket” that you can put on your dress form. This would be useful if you have 1 dress form and then make a “custom jacket” for several people (or sizes). Information about this can be found, for example, at Draping Society or Kenneth D. King.
important
This is not an online shop or service where you can buy a custom dress form.
This is a roadmap, step-by-step plan, instruction, tutorial, etc. on how you can go about arranging your own custom dress form.
Ready for this project?
This website is a passion project,
not for profit.
#PaspopOpMaat
#CustomDressForm
#3Dpossibilities
#inclusivefashion
#dopaminedressing
#adaptivedesign
#zinin (especially for my favorite puzzle)